
Please free to comment with any questions. I sold this particular gun a while back, so it is no longer in my possession and I no longer own any Sigs, but I can do my best to give advice. This tutorial was done some time ago, picture quality isn't very good, but I'll try my best to explain what is going on.
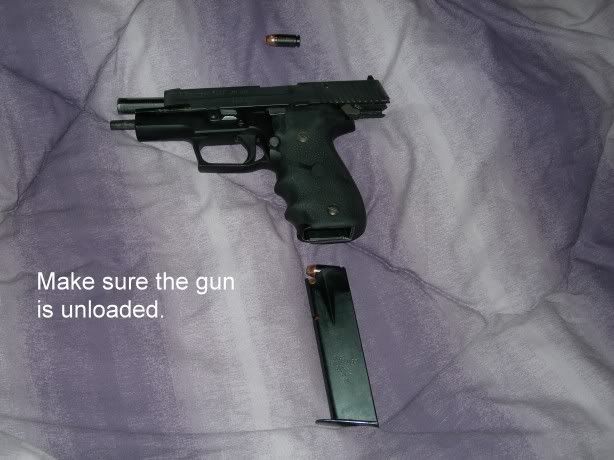
Always make sure the gun is unloaded before you attempt to take it down. This is basic gun safety, and helps to prevent unwanted discharges.
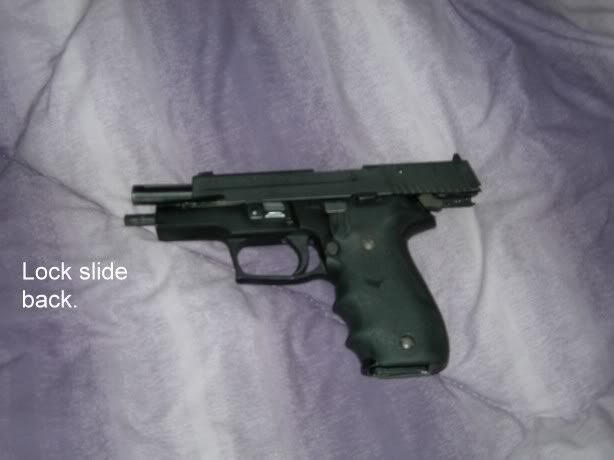
Remove the magazine. Lock slide back. You will have to manually lock the slide back by pushing the slide as far back as it will go easily and pushing the slide release up. While holding the slide release in place, release the slide itself and it should stay open.
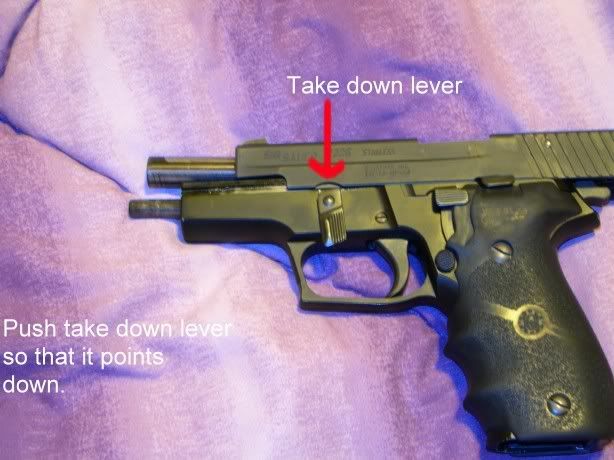
You'll notice a notch cut in the slide. This is to make moving the take down lever easier. It should be lined up above the take down lever, as pictured. Moved the take down lever so that it points down.
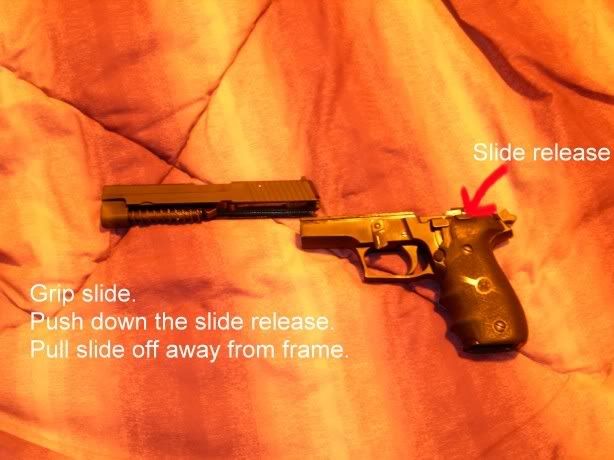
Make sure to grab hold of the slide at this point. While holding the slide, push down the slide release and pull the slide forward and off the frame.
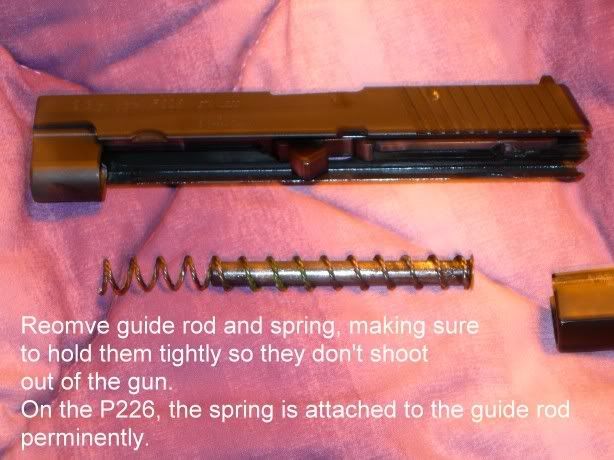
Put the frame down and hold the slide. First, remove the guide rod and spring by giving it a little pressure to release it from the barrel. Pull them out. The guide rod and spring are under tension, so make sure to get a good grip so you don't launch them. On this particular gun, the spring does not come off the guide rod.
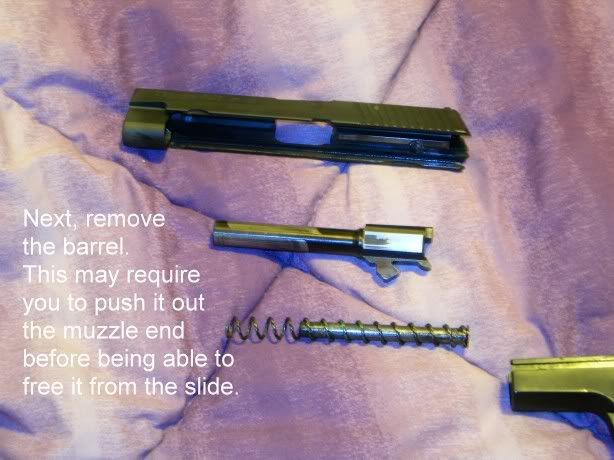
Now you're going to remove the barrel. Do this by pushing it slightly forward until it sticks out of the front of the slide a little bit, then lift the barrel and remove it from the slide.
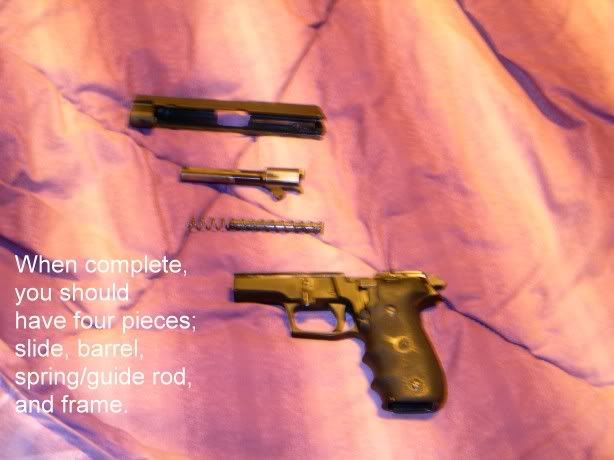
Dis-assembly is now complete. You should have four pieces in front of you, the slide, the barrel, the guide rod/spring, and the frame. Unless you are a gun smith, I do not recommend taking it down any further. Please be aware that taking it down further may void your warranty with Sig Sauer.
Things to be aware of when taking down a Sig:
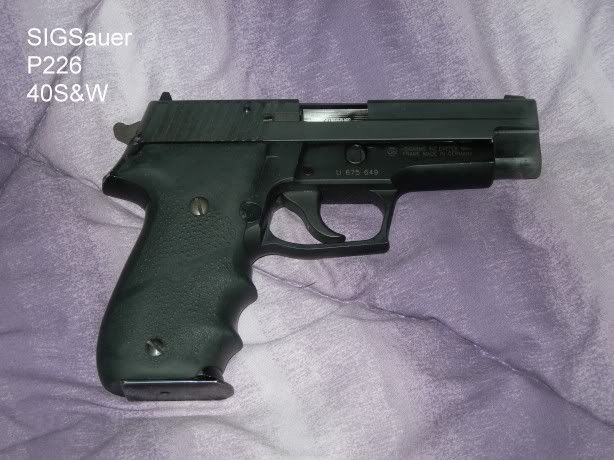
As you probably know, the grips on the Sig are removable and replacement grips are available. The Sig above is pictured with a set of after market grips, rubber wrap around grips made by Hogue. Please be very careful when removing the grips and replacing them. Under the grip is a very small, thin spring, what I used to refer to as a pig's tail. It looks like a paper clip someone straightened and then made a curl with. This spring can be easily broken. So if you decide to remove the grips for any reason, be very careful of how you handle that spring.
Re-Assembling a Sig Sauer:
I don't have photos to go along with it, but the easy explanation is to reverse what you did to take it apart. Here are the steps:
- Put down the frame and pick up the slide.
- The barrel will go in similar to how you removed it. Make sure the flat side is facing into the slide. Push the muzzle through the slide a small bit until the barrel drops in, then slide it back to line up correctly with the slide.
- Pick up the spring and guide rod. If your spring happens to be detached from the guide rod, slide it onto the guide rod. Now, line the end with more spring exposed with the opening below the barrel. Carefully push the guide rod into the spring, depressing the spring, until it lines up with the bottom of the barrel. There should be a place cut into the bottom of the barrel by the breech for the guide rod end to fit into. Push the guide rod into position, making sure it does not come out between the spring. Keep in mind the pressure of the spring and keep a good hold on the set up until you are certain the guide rod is in the correct position.
- Line the slide up on the slots in the frame. Carefully push the slide down those slots. If it takes a whole lot of pressure, STOP and remove the slide to try again. Remember that you should not have to put too much force on anything... too much force means you are not doing it correctly.
- Push the slide all the way back and lock the slide open.
- Push the take down lever up so that it lays flush against the frame.
- Once the take down lever is flush with the frame and everything looks good, go ahead and release the slide. Keep hold of it until you are sure it is together correctly and functioning properly.
- Test the slide to make sure it moves correctly and everything is together as it should be.
- Your gun is now re-assembled and ready to use.